Canary Camera Setup: A Beginner’s Guide
Nowadays, security cameras are a primary requirement for your residence and commercial places. Likewise, Canary cameras are one of those top-class gadgets that are laced up with advanced features and technology. Therefore, to experience such functionalities, users must need to perform the Canary camera setup which is a must to manage and configure their cameras accordingly.
Generally, there are two primary ways to access and set your security device up, i.e. Canary app and the web GUI. The Canary camera setup app is an easy process and users can configure their surveillance device easily on their own. So, if you are seeking help with the same, then you must walk through this page. Here, you will find easy steps for the Canary security device setup and troubleshooting tips to fix the setup issues.

Necessities for Canary Camera Setup
Moreover, if you are thinking of, beginning with the Canary surveillance device setup, then ensure to have the following things with you:

Completely charged Canary camera

internet connection (2.4Ghz)

Web
address

Admin
Details

Canary
App

Computer/
Smartphone
How to Setup Canary Camera Using the App?
Additionally, to make the most of your security gadget and manage it according to your preferences, you need to perform the Canary camera setup app. Otherwise, you can opt for the web address method to access and use the security device’s functionality to the fullest. In this section, we shed light on the elaborated steps for both methods, have a look:
Configuring the Camera Using the App
- First and foremost, ensure your camera is powered on.
- Now, connect the smartphone to the existing Home network.
- After that, open the Canary Home Security app and access the admin account by entering the valid admin details.
- If you don’t have the app, then install it and create an account first or use your email.
- Afterward, you land on the camera’s master Setup dashboard.
- Here, tap on the gear icon, to begin with the Canary Security camera setup.
- Next, scroll down the screen and click on Take Action.
- Further, tap the Add Device option and add your camera to the app.
- Check that your camera is powered on or plugin it to turn on.
- Follow the on-screen guidelines to pair your camera to the existing network.
- Here, the surveillance device scans for the available networks.

- Now, select your home network and enter the admin username and password for it.
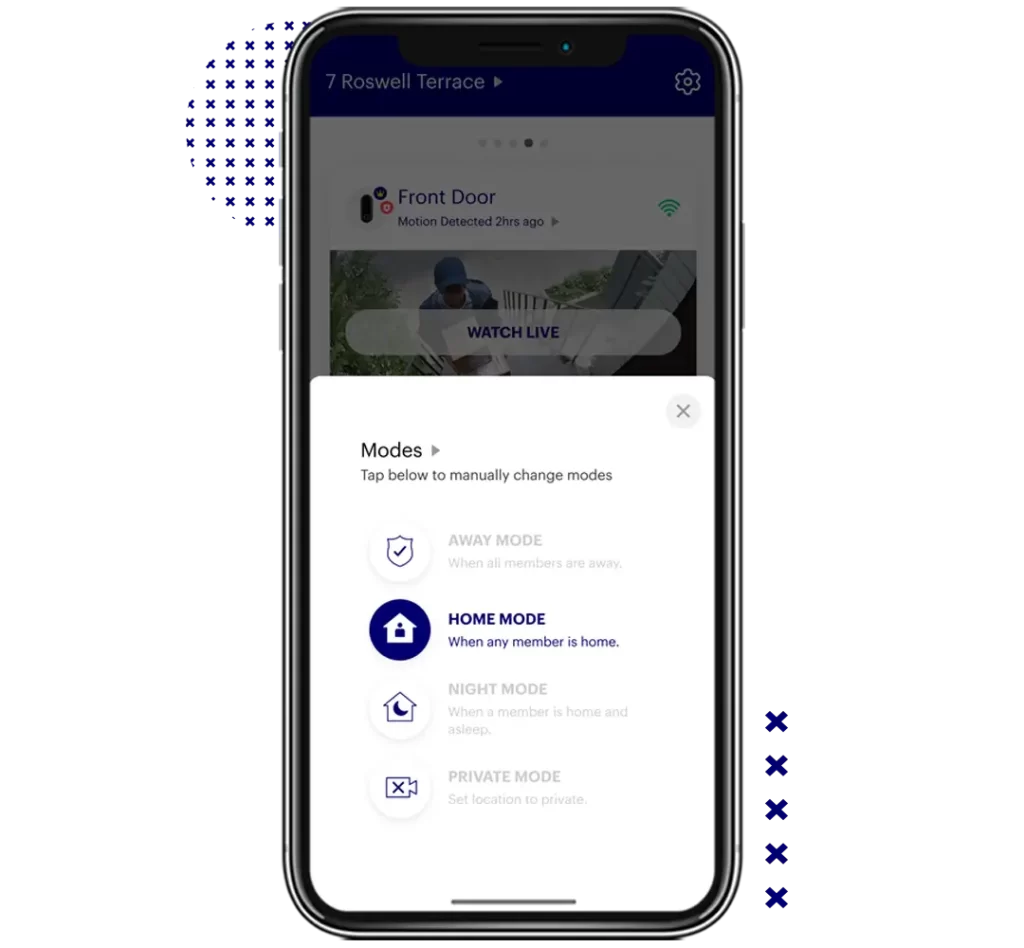
- Following that, click on Next>Modes & Motion Alerts.
- Hereon, set the motion detection settings, sensitivity level, and more.
- After that, Enable Location Access when prompted.
- Again choose Premium Service. You can tap Add Premium Service, Enter a Promotional Code, or I don’t want premium security as per your requirement.
- If a firmware update is shown during the configuration, then follow the instructions to upgrade it, and don’t turn off your phone or security camera.
- Thereafter, check the further settings and follow the on-screen instructions to complete the Canary Home camera setup.
- At last, you are done with the configuration of your Canary security device.
Note: To pair the Canary Pro camera, press the top of this device for 30 seconds to start the pairing and then click on the serial number of your camera when it appears on the phone screen.
Canary Camera Setup Through the Web GUI
- Initially, ensure your security camera is powered on.
- Next, connect the computer to the existing home network.
- Now, open the web browser and type the canary.is web address in the browser bar.
- Further, enter the admin username and password on the Canary login window.
- If you don’t have an account, then click on Signup and follow the further instructions to access the web interface of the camera.
- After logging in, you reach the smart Setup wizard of the camera.
- Here, go to the Add Device on the dashboard and select the camera model from the available list or enter it manually.
- Next, visit the Modes & Motion Alerts settings and configure them according to your preferences by following the on-screen instructions.
- If you want to get the subscription or choose another option, then go along with the prompts otherwise skip.
- Finally, you are done with the Canary view smart security camera setup

Face Issues While Setup Canary Camera? Here are the Troubleshooting Tips!
Furthermore, users get stuck with the camera setup process especially who are the new users. The issues can arise due to an unstable network, device incompatibility, outdated firmware, synchronization failure, and more.
Therefore, it is necessary to resolve these problems timely for the optimum camera functioning. Hence, to assist you with the same, we share the effective troubleshooting steps to resolve the Canary camera setup issues, so have a look beneath:
- Make sure the camera is fully charged and has a sufficient power supply.
- Next, check that the network connection is stable or use the ethernet cables to stabilize the internet.
- Confirm that your smartphone is compatible with the Canary camera app.
- If using the Canary Pro smart security camera, then ensure that you have pressed and held the top of the camera for 30 seconds to initiate the pairing.
- Remove the signal interferences, like EMV devices, mirrors, furniture, etc., or relocate the networking device to a central location.
- To fix the technical glitches and bugs, power cycle the camera and connected devices.
- Ensure the smartphone and camera are linked to the same network.
- If a firmware update is prompted, then follow the instructions to complete the process.
- Check that you have enabled all the necessary permissions on the app.
- Temporarily disable the security extensions, like VPN/Firewall/AD Blocker, etc.
- Fix the web browser issues by eliminating unnecessary data. If it does not support the given web address, then shift to another web browser.
- Check that the network and power cables are connected properly and are not damaged.
If none of the given methods work, the factory reset the Canary camera. To know the complete procedure, approach us!
Seeking more assistance with the Canary Cameras? Drop us a line here!
FAQs
Can I Setup Canary Camera Without Internet Connection?
No, you can’t configure the Canary cameras without a stable internet connection, especially Canary Pro.
How to Setup Canary Camera on Another Device?
For this, download the Canary app on another device and access your admin account on a new device by entering the valid details. Further, tap on the Add Device and follow the instructions to complete the procedure.
Do I Need to Reset the Canary Camera Before Setup?
Not necessarily, you need to power cycle the camera and connected devices to fix the network connectivity issues and other glitches.
Where Should I Install Canary Security Camera?
For the appropriate camera installation, ensure to select the right place with a good view and coverage angle. Next, ensure that the camera is placed within the router’s network range and where it is needed like the main entrance, hallway, etc.