Canary Camera Installation: A Brief Guide to Read
In this digital landscape, security is a must for your home and commercial premises. Similarly, the Canary cameras are one of the top-notch security gadgets that are equipped with advanced features and support wireless network technology. Additionally, before you use them, it is necessary to carry out Canary camera installation appropriately.
Further, Canary offers a range of security cameras that are easy to install but have different processes. Primarily, the Canary Flex model is a classic piece that can be mounted on the wall and also placed on a flat surface. Besides this, other models are designed to be set down on a flat surface only. Here, on this page, you read the installing Canary camera steps efficiently if seeking help with this.

Canary Camera Installation: A Brief Guide to Read
Additionally, when you begin with the installation process, make sure you have the below-mentioned things with you:
Canary Pro/View/Flex
Mounting Screw/Anchors
Drill/Location
Power Adaptor/Cables
Magnetic Base
Canary App
How to Install Canary Camera Effectively?
Furthermore, the installation is an initial step if you buy any of the security cams. Similarly, to install Canary camera, you must gather the above-mentioned things with you. Afterward, you need to select the proper location to place your camera. Ensure the selected location is within the network range of your router. Now, let’s take a look at the essential steps for the camera installation in brief:
Canary Flex Installation
- Initially, select the appropriate location within the router’s network range.
- Next, charge your Canary wireless cameras to the fullest and connect the power adaptor to the adequate power supply.
- Now, take the pencil and mark the place where you want to drill the Canary Flex on the wall.
- After that, take the drill machine, fit the anchors on the wall, and then put the screws to mount the camera plate.
- Further, position your security device on the screwed mount plate and set the angle of the camera.
- Also, you can place this camera on a flat surface like a table, shelf, etc.
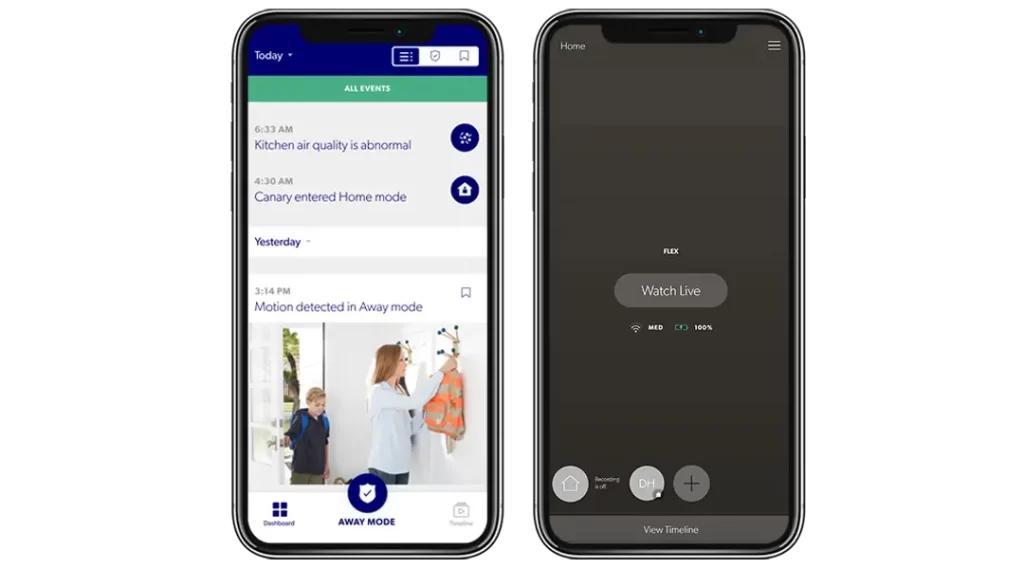
- Afterward, open the Canary app on your smartphone, Sign in for the new account, and add the camera to the app by following the on-screen instructions.
- Again, plug in the power cable and adapter to test the camera and its viewing angles.
- Finally, you are done with the Canary camera installation

Installing Canary Pro/View Security Camera
- To begin with, make sure that your security device is powered on.
- Next, place the camera on a clean and flat surface like a tabletop, shelf, counter corner, etc. within the router/mesh wifi’s range.
- Make sure these are placed at the eye-level and connected to the power supply with adequate voltage.
- Now, launch the Canary app and add your Pro/View security cams to the app.
- Further, check the angle of your camera as it covers a large area or not. Otherwise, rotate the camera.
- At last, you are done with the installing Canary camera
What to Do After Installing the Canary Security Camera?
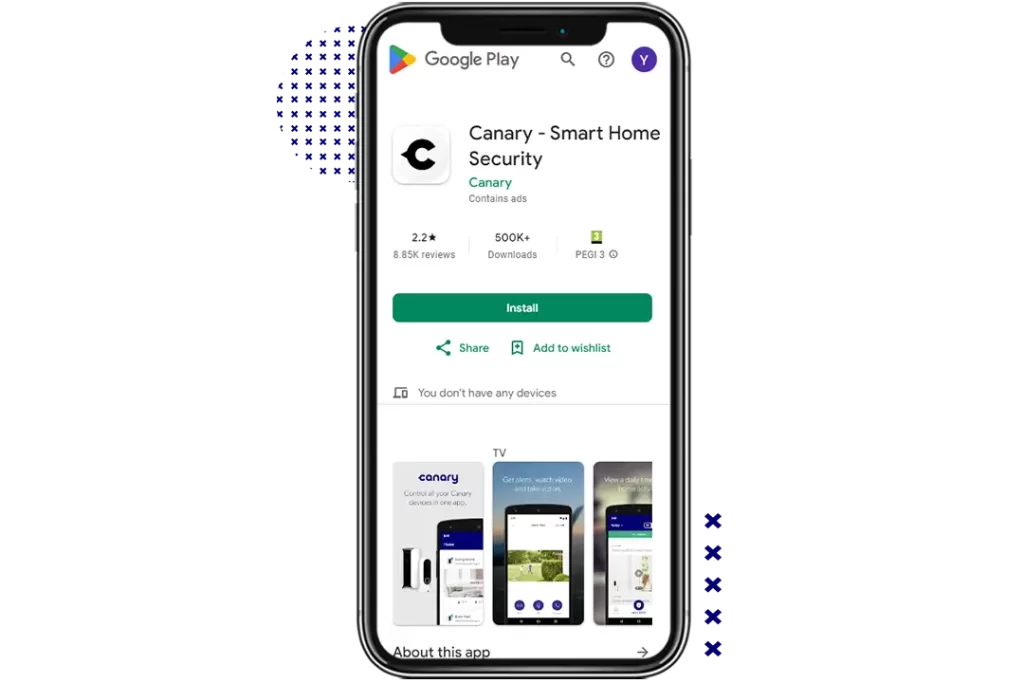
After you are done with the procedure to install Canary camera, then it is necessary to test the camera and add to the app. For this, you need to install the Canary app on your smartphone and create an account first. After that, click on the +icon/Add Camera to the app by following the on-screen instructions. Here, you now check the viewing angle of the camera, and if needed then set it again.
If you are still seeking more information regarding these cameras, then stay tuned to us!